
A Step-by-Step Guide (but don't try this at home)
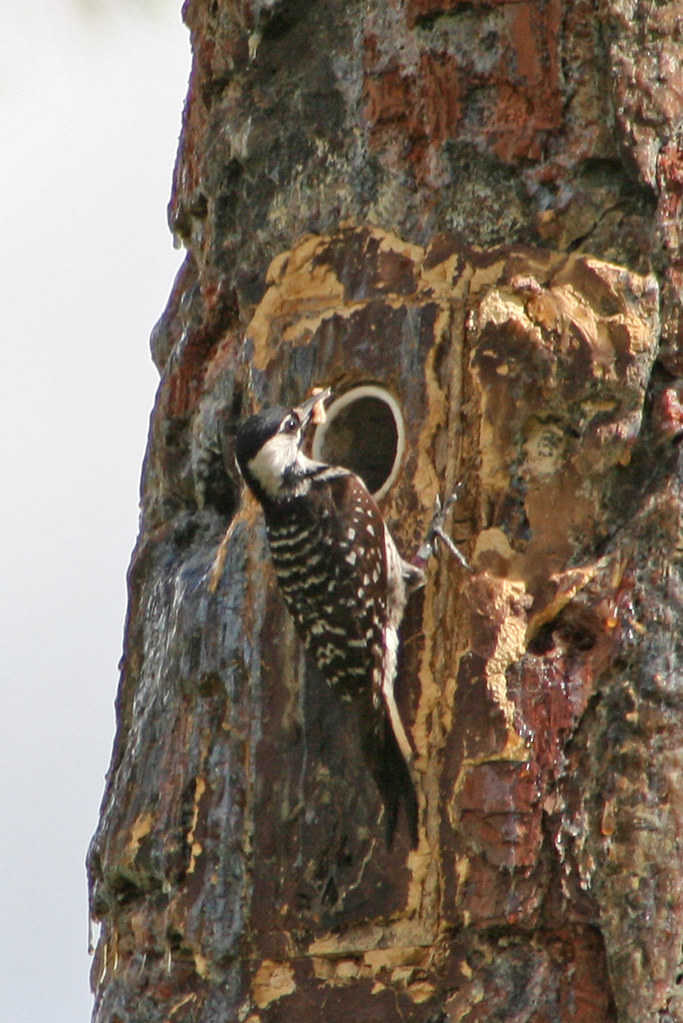
Red-cockaded Woodpeckers (Picoides borealis) are unusual among woodpeckers (perhaps even unique? Can anyone name any other examples?) in that they nest exclusively in living pines, most notably Longleaf Pines (Pinus palustris). The cavities are difficult to excavate into hard, sappy wood and can take a very long time to complete. A typical RCW cluster will have a breeding pair and maybe some helpers (young from previous years that stick around to help) so a cluster requires many cavity trees for roosting and nesting within their territory.
Therefore, if conservation management wants to supplement an RCW population, you can't just throw them in a good-looking patch of pineywoods and expect them to magically drill roost cavities overnight. The solution is nest-boxes, but with the added twist of getting them inside the tree. By adding these inserts to woodpecker clusters, the RCWs quickly get a new home that they can use as a base while they drill their own. They also adapt quite easily to using the inserts as their nest cavities. So, here's a photo essay on how a bird nest box gets placed inside a living pine tree. An alternative title to this post might well have been "Chainsaws for Conservation!"
This is an insert, ex-situ. Its just like any other nest box, although tall, narrow, and deep. Also, the front is reinforced with a metal grid and the entrance hole is a PVC or metal pipe, to help prevent the insert from being blown out by other woodpeckers looking for an easy home to steal. A cutaway view shows an ugly woodpecker chick in the nest chamber.


So, to shove this insert inside a tree. Step 1 - gather your resources (chainsaw, wood putty, spray-paint, and the insert) and climb the tree.

Size up the insert

Then slice and dice!


Cut the block up into chunks and start ripping them out


I'm no tree-ologist, but this pine looks approximately 25 years old, kinda young.

The tree has to be big enough so you don't cut more than half-way... wouldn't want the tree snapping off now would we?

I've heard that our trees in south-central Florida are puny compared to those 'up north'.

So, now that the hole is cleaned out, does the insert fit? Nope, not quite yet.

Get in there with a chainsaw for some fine detail work to make that insert fit.


Now it fits! Lather on some


Still doesn't fit? Good thing you brought your trusty hammer!

Great! Now to give it that rustic look, lather on some more putty and paint it up


All finished! Now you have a fully-functioning woodpecker home, ready for occupancy!


Awesome post Nick!!! I didn't realize they sold "Longleaf Pine" colored paint.
ReplyDeleteHaha... thanks. "Longleaf Pine" sounds like one of those extravagant color names in the 120-color crayon set, more commonly marketed under the name "brown".
ReplyDeleteAre you taunting us? Pictures and everything.
ReplyDeleteLoved the post and the photos, but it is a little much for me to try.
ReplyDeleteHaha, thanks! It's not intended for do-it-yourselfers, I don't want anyone chainsawing their arm off and sueing me. Plus this method may not be feasible for woodpeckers that nest in dead trees.
ReplyDeleteNone of you photos are showing up. All i see is an error saying Photobucket bandwidth exceeded. Thanks for the post though.
ReplyDelete